Back to Planned Maintenance Main Menu
The only user role in Planned Maintenance is Administrator. All users added to Planned Maintenance, will have the same amount of access. The only users that need to be added to Planned Maintenance are those that will be creating new Planned Maintenance schedules or editing existing ones.
Watch the Video Tutorial:

How to Add Users
- Click on the Account Setup tab.
- Click on the PM Users link.
- Click the + Add User link above the right side of your user list.
.png)
- If you have users in other Dude Solutions applications, you will be directed to a Registered Users page. The Registered Users drop down list will show all users in other Dude Solutions applications that are not users in Planned Maintenance. If the person you wish to add is in that list, select their name and click Add This User. *Note: Always check the Registered User list before adding a new user.
- If the person is not in the list, click the New User button.
Adding Registered Users
- After clicking the Add This User button.
- On the Planned Maintenance Participant Information screen, the user's login name, password, and contact information will automatically be pulled over from the information in their other Dude Solutions account.
- The rest of the fields on this page are not required and can be added at any time.
- Click Next Step to continue.
-
Select the user role of Planned Maintenance Administrator.
- Check the box if you want this user to be the Comptroller for the account. There can only be one Comptroller for the application.
- Click Next Step to save and the user will be added.
Adding New Users
- Click the New User button.
- On the Participant Information screen, you will need to enter a Login Name, Password, First and Last Name, and Email Address for the user account.
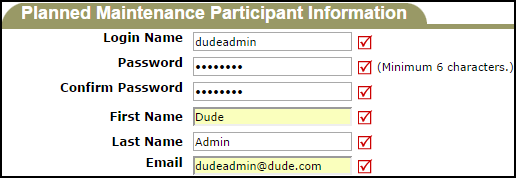
- Click Next Step to continue.
-
Select the user role of Planned Maintenance Administrator.
- Check the box if you want this user to be the Comptroller for the account.
- Click Next Step to save and the user will then be added.
